-
Last edited by Sebz; 11-11-2025, 12:32 PM. -
Safety Notice- This is an off-road electric dirt bike and should be treated with extreme caution.
- Proper safety gear, including a regionally approved helmet, eye protection, riding boots, gloves, and protective clothing should be worn while riding to reduce the risk of potential injury. It is not recommended to ride without the correct protective clothing.
- Read all additional warnings and product instructions in this owner’s manual, as well as safety labels, before operating your vehicle.
- Never permit a guest to ride your vehicle without proper instruction.
- Never use alcohol or mind-altering drugs before operating your vehicle.
- This is not a kids bike.
- Persons unwilling or unable to take responsibility for their actions should not use this vehicle. You assume all responsibility while operating your vehicle. The seller assumes no liability for misuse or operator negligence.
- Prior to each use the rider must check everything carefully, and the charge level of the battery pack as indicated on the battery pack display or dash display charge indicator.
- Your safety depends in part on the good mechanical condition of the vehicle. Be sure to follow the maintenance schedule and adjustment requirements contained in this manual. Be sure you understand the importance of checking all items thoroughly before riding.
- Modifications to this vehicle may render the vehicle unsafe and may cause severe personal injury. Talaria and Luna Cycle cannot be held liable for non-approved modifications.
- Be very careful when loading or adding accessories to your vehicle. Large, bulky, or heavy items may adversely affect the handling and performance of your vehicle. Overloading may even cause the safety hazards and vehicle damages.
- Modifying the the bike is NOT advised as it greatly increases the likelihood of severe injury and property damage.
- It is NOT legal to ride this on public streets . We sell this bike for use on private property and/or for race/track riders.
SAFETY TIP: NEVER use flimsy adjustable stem to raise the bars, it's not made for downhill bikes so for sure it's not ok for a 145lbs + bike. Hard landing where you bottom out the fork will lead to a direct hit on the weakest part and end up with a stem to the face. Use real downhill parts like a direct stem and use metal direct stem risers and riser handle bars instead.
Last edited by Luna Admin; 1 week ago. -
5 WARNINGS:
1)You must locate the gearbox vent hose clamp and release it, the gearbox needs to breathe, blocking the vent can result in damage to seals and bearings. You can clamp it back if you need to put the bike on it's side to avoid oil leaking. THat is for the MX4R only, the MX3 does not have a vent clamp
2) Do not remove the bolt at the bottom of the fork leg, this is for maintenance only, not to add air in the fork. If you strip the bolt, break the threads, damage the air chamber you will have to pay for a new fork leg unfortunately. Same with the rear shock, it's not user adjustable.
3) Rotors have oil on them, to prevent rust during sea shipping. You have clean both rotors with brake cleaners or isopropyl alcohol. Failure to do this will just result in squeaky brake for the first couple rides.
4) You must turn the breaker off before connecting the battery and you must turn off the breaker before unplugging it. If you don't you risk to damage the connector, the battery and other vital electronic components.
5) Air up your tires, if you don't inflate them, you will spin the tire on the rim and rip the tube valve out then you wont be able to use your bike for a couple days until you purchase a new tube and have it installed.
The new electronic throttle is not plugged so please be careful not to pull the wiring and to line up the pins the correct way when plugging it.
Lunacycle will not replace your throttle if you rip the wires out of the handle or crush the cable.
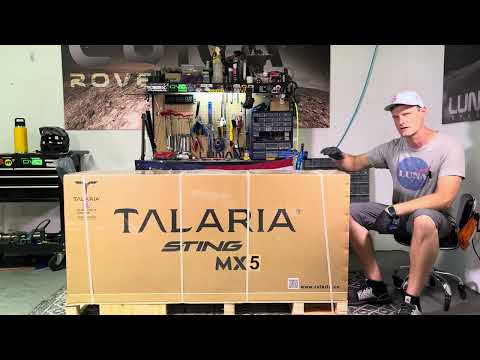
UNBOXING VIDEO
It is super important to watch the whole video, you need to install the foam blocks on the battery and on the lid.
MX5 PRO
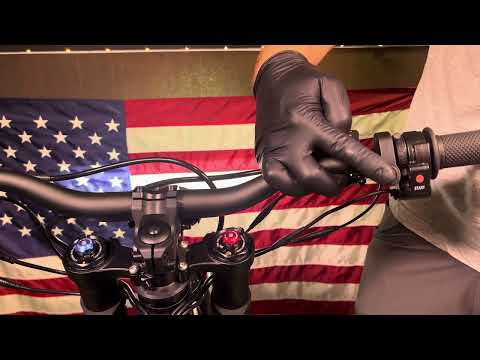
MX5 regen throttle explanation video
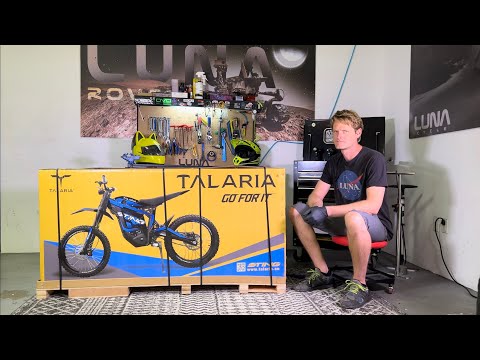
MX4R MX3
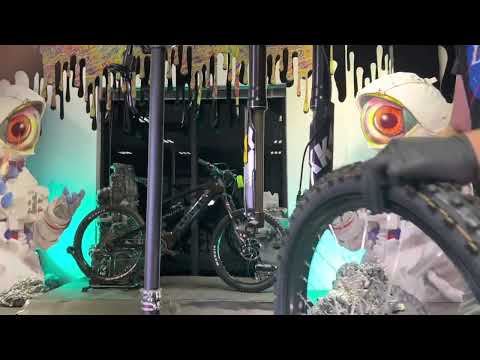
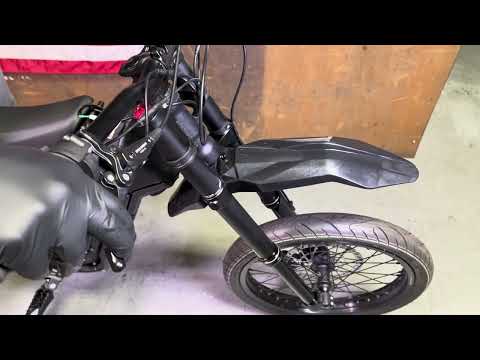
FYI both legs will move independently because there is no cross brace or arch between both legs like a traditional mountain bike fork, so it's normal to have a leg sitting lower than the other when you have the wheel off the fork!
FRONT WHEEL INSTALLATION WARNING
Make sure the front wheel is in the air not sitting on the ground, make sure to tighten the main side axle bolts first to 2nm (not more), spin the wheel move it side to side and then tighten the pinch bolts. I heard of people saying to tighten the pinch bolt first.... but that is bad advice, the axle is cut exactly to the proper length to make sure the hub in the middle is snug against both fork legs. so when you tighten the the end caps it just takes away any gap put just the right pressure on the hub and you end up with perfectly parallel fork tubes. The pinch bolts role is to make sure that the axle does not move.. The pinch bolt do the hard work so it's crucial to have them tight to factory specs and with the perfect distance from each other. If you don't believe us look at any high end inverted fork manual and tell us they say to do it other wise (look for a Manitou Dorado manual)
How to install the front wheel on a inverted fork?
TIP: Add blue Loctite to them from the start and check tension before each couple rides, If you loose or break them you will likely have to source them on the web as we do not always have replacements for these in stock, can take several weeks to get them from the factory. Best to use some blue loctite on them , it's the safest way
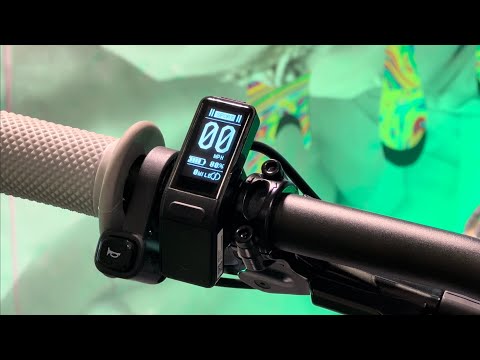
Display walkthrough
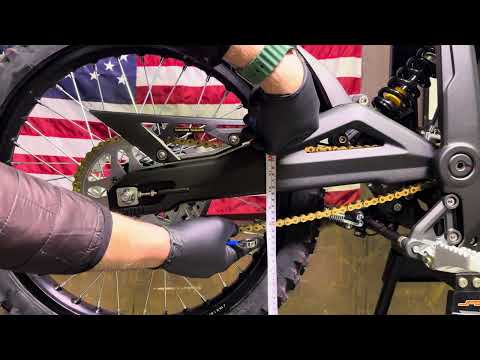
How to adjust the chain tension:
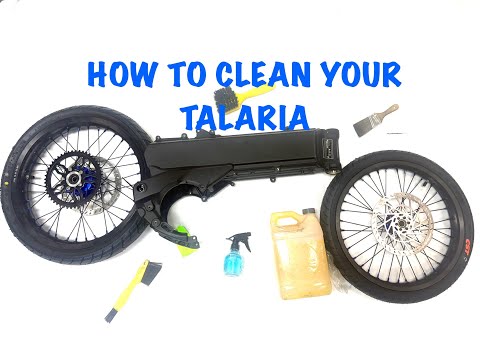
WASHING your Talaria
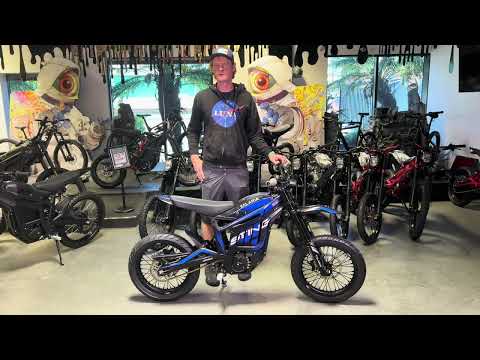
Transporting your Talaria MX
This bike does have a vent tube for the gearbox to breathe while riding, so if you lean the bike in a suv/truck it's possible that you see some oil dripping from the vent tube. So either use a hose plug during transport or move the vent tube so it will be facing up Or do that right thing and use a hitch carrier or tie the bike down upright in a truck bed.
You cannot ride the bike with the vent blocked, you can damage the gasket, the oil seals and bearing seals. Remember to remove the plug.Last edited by Sebz; 11-11-2025, 12:37 PM.Comment
-
PRE-RIDE CHECKLIST
Before your first ride and also before each ride. If you haven't setup your bike yet skip to the next post.
Additional info- Charge your battery while you setup your bike, if it's already charged go to step #2, if not charged let it charge off the bike and once done go back to step 2.
- Turn the breaker to the OFF position (toward the left) make sure the key it to the OFF position, plug both connectors to the battery and then flip the breaker ON (to the right) and then turn the ignition key switch to ON. NEVER EVER unplug or plug back the battery with the breaker on, eventually the battery connector will weld itself. And always make sure the connector is always clean, tight and fully inserted. If this is not done you can break your bike.
- Rotors have oil on them, to prevent rust during sea shipping. You have clean both rotors with brake cleaners or isopropyl alcohol. Failure to do this will just result in squeaky brake for the first couple rides.
- Check Spoke tension and recheck them after a few rides, they can come loose and you can rip nipples out of the rim or worst. If unsure how to properly tighten spokes and true a wheel, please take the wheel to a trusted ebike or wheel shop or even a local bicycle shop can do it. There are many Youtube videos on checking spoke tension on a Talaria. Go over all the bolts before your first ride, especially the axle bolts, headset , stem, top cap, brake levers and throttle and the fork bolts on the crowns to hold the fork legs in place. please refer to the torque setting chart down bellow. Click here to see how to adjust the headset & stem.
- Use that cardboard box as a stool and put the bike on it if you don't have a proper stool. Check if both brakes work fine and if the pads dont rub too much on the disks. If the brakes are spongy or if you have too much drag you will have to so a brake adjustment or bleeding.
- Check the tire pressure, too low and you can pinch the tube or rip the valve off due to slippage. Too much pressure and it wont ride good off road. Anywhere between 30psi on the stock-road tires is good. 18-30 for the offroad
- Chain tension, it seems like they ship the bikes with high chain tension but you might find that loosening it up will get you less noise and less drag, This is unlike a mountain bike, where the chain tension gets higher when the suspension compresses so it's easier to figure out the right tension from the start. You should be able to move it up and down half an inch up to an inch (0.5"-1"), if it's too tight you will put too much tension on the drive train and also it will not ride as smooth. Too loose and the sprockets will wear off faster, way too loose and you can lock up your wheel while riding.Please click this link to know how to setup the chain tension properly.
- Move over to the rear and check if the rear axle is solid & suspension components are secured. If the rear spring is loose then you must tighten the lock nut that compresses the coil.
- Check the front fork, lock the front brake and put your weight over the handle bar to compress it, make sure you can at least go a couple inches in. You can adjust the rebound (blue knob under the right fork leg).
And please wear a proper helmet and protection gear!Last edited by Luna Admin; 1 week ago.Comment
-
TALARIA OWNERS MANUAL
MX5 PRO MANUAL
MX4R and MX3 (2022+) manual, click the picture below.
Last edited by Sebz; 09-18-2024, 05:38 AM.Comment
-
Battery FAQ
Charging and Battery Pack Information
The Talaria battery pack leverages proven battery cell chemistry, configuration, and enhanced reliability. With the high-performance lithium-ion battery cells inside of the battery pack, it’s well designed to operate under normal temperatures and environmental conditions based on 60V voltage. The battery pack should not be used outside of the range of -20°C to 50°C (-4F to 120); the Battery Management System (BMS) turns off the power controller outside of this range. And the battery pack will have the best working efficiency at the range of 10°C to 30°C (50F to 85F). The performance and lifetime of the battery pack will reduced if the battery pack is used outside of the normal operating range 50F to 100F. The battery pack should not be charged below 5°C (40F).
Caution- The battery pack should not be charged below 5°C , users should wait the temperature to be equal or above 5°C, and then, can charge the battery pack. Otherwise, the battery pack may be damaged.
- When the temperature is low, it’s normal that the performance of the battery pack will have a reduction, and lead to a relatively shorter range. After the temperature got to be normal, the performance of the battery pack and the range will be recovered automatically.
- The battery pack has self-protection function, it will work to protect the battery pack from any damages by over charge and discharge. Frequently over discharge will cause the performance of the battery pack to have a reduction. When the battery power is low, please charge the battery pack as soon as possible.
- The battery pack has no memory function, it could be charged frequently. And to charge the battery pack frequently can keep it being in a good condition.
- If the battery pack will not use for a long time, please charge the battery pack once for every 3-month to about 60% power, switch off the circuit breaker and unplug the discharge connector. And then, and store the battery pack in a dry and ventilated place. Otherwise, if the battery pack is not charged for a long time. The low voltage self-protection function will be activated automatically, then, you need to re-activate the battery pack to use again.
- Never charge the battery when hot, always let it sit at room temp for 30 mins or more.
- After the battery pack is fully charged, the voltage should be in the range of 66.5V to 67.2V. If the voltage is out of the range of 66.5V to 67.2V, then, the battery pack is not fully charged or may got problem. Please contact the local dealer for solution.
Caution
If the motor and controller got overheating, or the battery pack got low power, the self-protection function will act to reduce the output power or even shut down the vehicle. It’s not a failure or error. After the overheating cool down, or the battery pack is charged, the performance of the vehicle will recover to be as usual.
 Last edited by Luna Admin; 1 week ago.
Comment
-
MX3, MX4 & MX5 Specifications- LENGTH: 1880mm
- WIDTH: 770mm
- HEIGHT: 1080mm
- SEAT HEIGHT 840mm
- MINIMUM GROUND DISTANCE: 300mm
- WHEELBASE: 1235mm
- Front hub size 20mmx110mm (non-boost Downhill MTB type hubs)
- MAXIMUM LOAD WEIGHT: 250LBS with gear and accessories* *This weight limit is for normal riding, it does not mean the suspension will be adequate at this weight doing offroad, some upgrades can be necessary (Fork , shock, brakes and bigger rear chainring)
- Battery specs: 60V 45AH NOMINAL, 43.5Ah usable.
- Battery charger: 120VAC input, 67.2V max output (60V nominal) , 12amp max charge rate.
- Gear ratio MX4: 1:8.4 (stock sprocket) / Mx5 1:9.1 (stock sprocket)
- 420 GOLD CHAIN WITH 1/2" PITCH "O" RING on MX3/4 and XXX
- 428 GOLD CHAIN O-RING chain on the MX5 only
- TIRE SPECIFICATIONS (FRONT): 70/100-19
- TIRE SPECIFICATIONS (REAR): 90/100-19
- RIM TYPE (FRONT): 19" / 1.4" wide
- RIM TYPE (REAR): 19" / 1.6" wide
- TUBE front 70/100-19 TR4 valve normal duty tube (AKA 2.75"X19), some tube models will be fine to be used on both front and rear.
- TUBE Rear 90/100-19 TR4 valve normal duty tube (AKA 3.0"X19)
- SPOKES 12 gauge
- MX3/4 BRAKE TYPE (FRONT): four-piston mineral oil disc brake with oversized 223mm disk (6 bolt standard apttern)
- MX3/4 BRAKE TYPE (REAR):four-piston mineral oil disc brake.
- MX3/4 BRAKE Caliper with 2 red caps are version A and uses Shimano BH59 hoses and fittings
- MX3/4BRAKE Caliper that are all black are version B and uses Tektro hoses and fittings
- MX3/4BRAKE PADS: Shimano BR Models: Saint M810, Saint M820 ZEE M640 ; These Kool Stop pads fit
- MX3/4 Brake pad pin
- MX5 Brakes use bigger motorcycle style brakes and DOT brake fluid, does not use generic pads, hose and rotors like the Mx3/4
- MX5 brakes cannot be mounted on a Mx3 or Mx4 or XXX
- Gear ratio MX4: 1:8.4 (stock sprocket) / Mx5 1:9.1 (stock sprocket)
The Displays on the MX line up are not cross-compatible, they are all different, but you can use the new Mx5 color display on the MX4 and XXX (not Mx3)
The throttle is the same on the Mx4R and XXX and MX5 but not the same as the Mx3 throttle (connector is different)
The charger is the same on the Mx4R and the Mx3 But different on the MX5 (72V VS 60V)
The fork on the MX5 is not the same as the Mx4r and Mx3, the axle and brake mount is different.
The fork on the MX4 is not the same as the Mx3 (lower end) but they are cross compatible (also compatible with XXX and Sur-Rons).
The main harness and controllers are different on all MX versions but you can retrofit a Mx4 harness on a Mx3 but you 'll need to splice some wires.
The Mx3 controller can be replaced with a Mx4 controller but will keep the same Mx3 power
The Mx3 battery can be replaced with a MX4 battery but will not give out more power, only more range
Replacing the mx3 the battery and controller with Mx4 battery and controller will result in Mx4 power and range.
Using a Mx3 battery or a Mx3 controller in a Mx4 will result in lower Mx3 power
Can't use a Mx5 controller and battery on a Mx4/3
Mains frames are the same on all 3 models (MX3/4/5), swigarm on the Mx5 is slightly different due to thicker axle.
The sprockets are the same on Mx3 Mx4 and XXX and also Sur-Ron Light bee but not the Mx5
The front and rear axles on the Mx4 & Mx3 are the same width and diameter as the XXX
MX5 axles are not cross compatible
The gearbox on Mx3 and Mx4 are the same, the Mx5 is different
The gearbox cover is the same on all models
The pegs and peg brackets are the same on all MX
Same rear shock size on all Talaria but the MX5 uses a higher rate coil due to heavier bike It is 10.5 inch eye to eye. I
The wheels from the XXX will fit the Mx4 and Mx3 but not the MX5. But the rear on the XXX will smaller and lower the bike height and ground clearance.
For both XXX and MX4 and Mx3, if you need to replace the hydraulic hose lines, check the caliper on the bike. If it has red accents you need Shimano BH59. If it is all black you need Tektro insert and olive.Last edited by Luna Admin; 1 week ago.Comment
-
-
Error codes
Error codes are displayed on the dashboard, please refer to the charts below or click the link to the troubleshooting guide
Last edited by Sebz; 08-24-2023, 09:45 AM.Comment
-
Warranty
12 Month Warranty on Battery*, motor and controller and charger against factory defects. Limit of 10000 miles.
12 Month Warranty on the main frame, hubs, caliper and brake lever cylinder, gearbox and frame components. Limit of 5000 miles.
12 Months warranty on shock** and fork**, make sure the weight limit (280lbs) is not exceeded and that it’s not race or abused.
Warranty Shipping Policy
For the first 30 days after purchase, warranty-related shipping is covered both ways.
From day 31 through day 89, we will cover the cost of shipping warranty replacement parts to the customer. However, if a part must be returned to us for inspection or repair, the customer is responsible for the cost of shipping the part to us. We will cover the cost of shipping the inspected or repaired part back to the customer if issue was reported within this timeframe.
After 90 days, shipping costs are not covered under warranty in either direction. The customer is responsible for shipping any part to us for inspection or repair, as well as the shipping cost for any inspected, repaired, or replacement part sent back to the customer. We will collect the shipping cost prior to sending the inspected/repaired/replacement part.
Exclusions
Warranty does not cover tires, tubes, brake pads, brake lines, chains, sprockets, bearing or any wear and tear part. Warranty does not cover maintenance or failure caused by the lack of maintenance. The warranty does not apply in the event of abuse, accident, neglect, improper storage, not following the recommendations on our manual, racing or using the product in any way other than intended.
*The battery warranty allows for normal capacity reduction over time and only covers the battery if its capacity drops below 70% of the original level during the warranty period.
**Warranty does not cover fork damage resulting from trying to open the lower bolts to access the damper air bladder.
** Warranty does not cover wear on the fork and shock seals as they should be replaced every 50 hours ( Fastace forks only) or lubed (DNM and Factory)
**warranty does not cover any water damage (caused by either washing the bike or riding in water) please refer to this video on how to wash
Some modifications electrical or mechanical may void warranty coverage for related parts that break as a result of modification. Including but not limited to, adding an aftermarket controller, aftermarket motor, aftermarket battery. Painting the frame or covering the serial # does void the warranty on the frame and other related parts. Other mods would not, such as adding one FFH 12v light or replacing just a tire with a different one.
Speed limiter and speed/power modifications: Any failure or damage caused by removing, bypassing, or tampering with the factory speed limiter, or by installing any speed or power modification (including aftermarket controllers, motors, batteries, firmware, or gearing changes intended to increase speed), is not covered by this warranty.
Warranty does not apply to any bike taken outside of our normal service area which would be contiguous United States.
Warranty is not transferable to second hand owners, only to family members living at the same address.
Removing serial number on parts and frame voids the warranty
STRIPPING THE BIKE DOWN TO THE BARE FRAME TO POWDER COAT OR PAINT IS LIKELY TO BOTH DAMAGE YOUR BIKE AND VOID YOUR WARRANTY. THIS IS A COMPLEX MACHINE WITH LOTS OF FASTENERS HELD ON WITH LOCTITE, WIRES THAT NEED ROUTED IN SPECIFIC WAYS, AS WELL AS BEARINGS AND SPACERS THAT WOULD NEED BOTH PROTECTED AND REINSTALLED IN SPECIFIC WAYS TO AVOID DAMAGE. DO SO AT YOUR OWN RISK. (If wanting to change the color/style of the bike we would recommend instead to use a wrap.)
(Note: If there is a case beyond these timeframes, warranty may not apply. These will be handled on a case by case basis. It is not an automatic no; just means it is not an automatic yes either.)
Last edited by Luna Admin; 1 week ago.Comment
-
-
Maintenance section
All the videos below are on our youtube channel (see post above). That being said here is a list of the best video for maintaining your MX
What to inspect every couple rides, no joke you do need to do all this!!
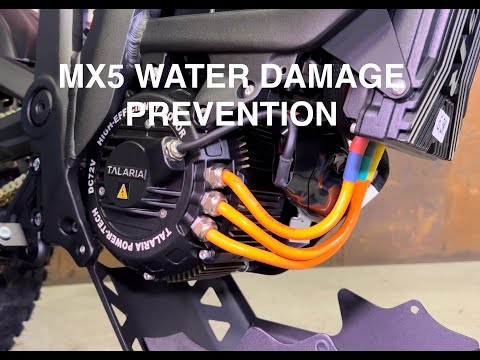
Washing your Talaria
supplement for washing the Mx5, you need to inspect the DC converter connector:
Chain tension... it's CRUCIAL to have proper tension
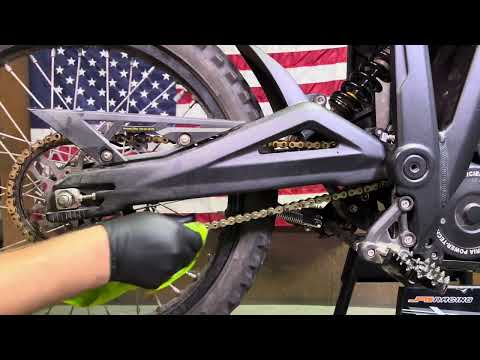
Chain cleaning
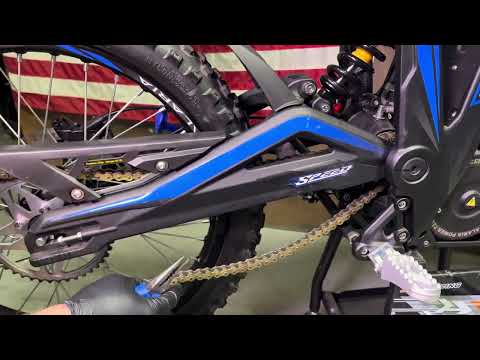
Chain replacement, they don't last forever!
Basic fork maintenance
Replacing brake pads
Bleeding brakes on Mx3/4
Bleeding brakes on the Mx5
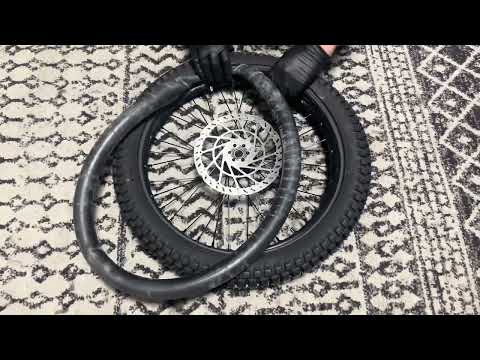
How to change a tire or a tube
Comment
Comment